How to Connect a Projector to a Laptop for Church (Step-by-Step Guide)
A complete guide to connecting your laptop to a church projector: cables, display settings, common problems, and what software to use for projection.

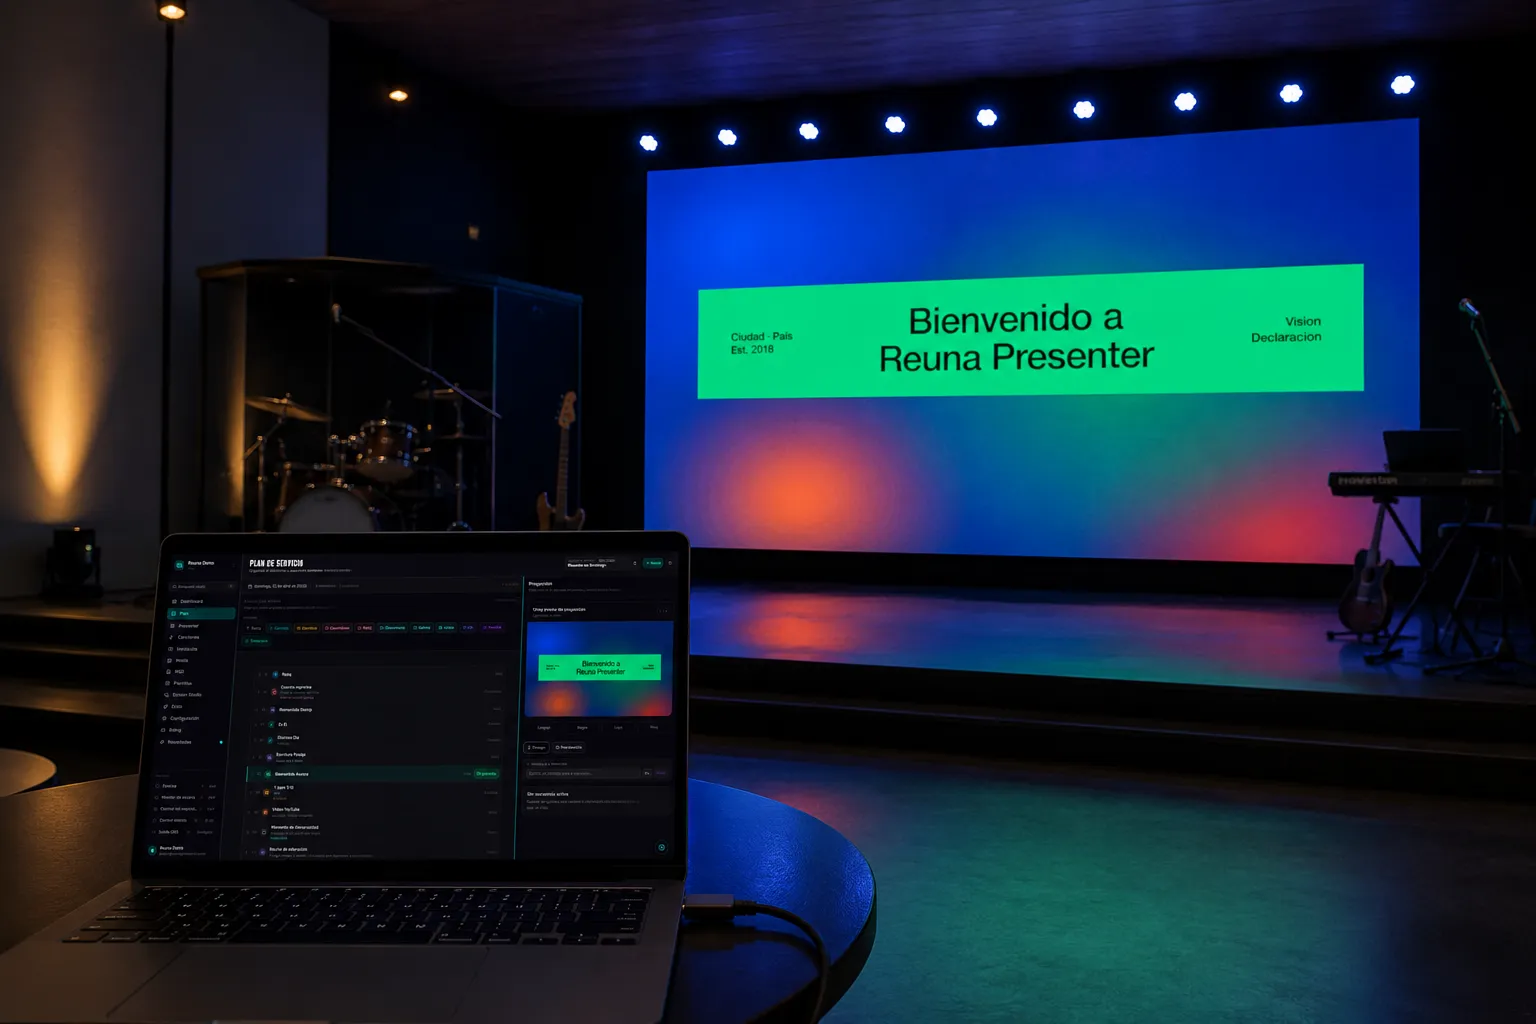
How to connect a projector to a laptop for church
Connecting a projector shouldn't be the reason a service starts late. This guide covers the steps to make the connection, how to configure the display so the congregation sees lyrics and scripture without also seeing your taskbar, and how to fix the most common problems before the pastor is left waiting on stage.
What you need before you start
Before connecting anything, identify two things: what video input your projector has (HDMI, VGA, USB-C) and what video output your laptop has. Most modern church projectors have at least one HDMI port, but many rooms still run older projectors with only a VGA input.
The most common cables:
- HDMI to HDMI: the simplest option. Carries video and audio over a single cable. It's been the standard on most laptops and projectors for over a decade.
- USB-C (or Thunderbolt) to HDMI: needed if your laptop has no HDMI port (common on recent MacBooks and ultrabooks). You can use a direct USB-C to HDMI cable or an adapter/hub.
- VGA: if the projector is older, you'll need an HDMI/USB-C to VGA adapter. Unlike HDMI, VGA doesn't carry audio — you'll need a separate 3.5mm audio cable if you need sound from the laptop.
- Wireless HDMI: wireless HDMI transmitters remove the cable between laptop and projector entirely, useful if the tech team operates from the back of the room.
Step-by-step: connecting the projector
1. Connect the cable between the laptop's video output and the projector's input, with both devices off or idle, to avoid the classic "detecting signal" freeze.
2. Turn on the projector first, and select the correct input (HDMI 1, HDMI 2, VGA) using the remote or the projector's buttons. This step is the number one cause of "it's not working" — the projector is often on but showing a different input than the one you connected.
3. Turn on the laptop and wait for the OS to detect the second display. On Windows this usually happens automatically; on Mac it can take a few seconds.
4. Configure the display mode. This is where you decide whether the congregation sees exactly what you see, or whether you see your controls on a separate monitor while the projector shows only the slides:
- Windows:
Windows key + P→ choose "Extend" (for two independent screens) or "Duplicate" (if you want the projector to mirror your screen). - Mac: System Settings → Displays → toggle "Mirror Displays" on or off from there.
5. For live production, use "Extend," not "Duplicate." With extended display, your laptop acts as the control panel (where you see the next song, buttons, service plan) while the projector shows only the clean output for the congregation — no taskbars or background windows.
6. Match the projector's resolution in your OS display settings to the projector's native resolution (commonly 1920x1080). A mismatched resolution is the most common cause of blurry or cropped text.
Common problems and how to fix them
"The projector isn't detecting a signal." Confirm you selected the correct input on the projector (not just that it's powered on). Unplug and reconnect the HDMI cable — surprisingly effective. If you're using a USB-C adapter, try a different port on the laptop.
"I see my screen but the projector is black." This is almost always a display mode issue. Go back to Windows + P (or Displays on Mac) and confirm it isn't set to "Computer screen only."
"Video works but there's no audio." If you're using VGA, remember that cable doesn't carry audio — you need a separate auxiliary cable. With HDMI, check that your system's sound settings have the projector (or the room's audio system) selected as the output, not the laptop's built-in speakers.
"The text looks blurry or pixelated." Check that your configured resolution matches the projector's native resolution. If your laptop has a high-density display (Retina, 4K), it may be scaling the output signal poorly.
Considerations for your church's room
Beyond the cable, two factors determine whether the projection looks good in the room: ambient light and screen size relative to seating distance. A 3,000-lumen projector can look perfect in a dark room and nearly invisible with midday light coming through a window. As a general rule, the screen should be large enough that the person sitting in the back row can read the text without effort — a common guideline is that screen width should be at least 1/6 of the distance to the farthest seat.
The next step: the software you're projecting
Once the projector is connected and configured, the other half of the job is the software running on the laptop — the one displaying song lyrics, scripture, and the service plan.
Reuna Presenter is built exactly for this scenario: it runs in the browser (nothing to install), sets up for extended display in minutes, and includes a full service plan, song lyrics, and Bible library in the free plan. If you're building your church's tech setup from scratch, start free with Reuna right after you finish connecting the projector.
Frequently asked questions
Do I need an adapter if my laptop doesn't have an HDMI port? Yes. If your laptop only has USB-C ports (common on recent MacBooks and ultrabooks), you'll need a USB-C to HDMI cable or adapter to connect to most projectors.
What's the difference between "Duplicate" and "Extend" display? "Duplicate" shows exactly the same thing on your laptop and the projector. "Extend" turns the projector into a second, independent screen — ideal for live production, since you can see your controls without the congregation seeing them.
Why does my projector show "no signal" even though the cable is connected? It's almost always because the projector is displaying a different input than the one you connected. Use the remote or physical buttons to cycle through inputs (HDMI 1, HDMI 2, VGA) until you find the right one.
Ready to try Reuna?
Start free in the browser, with nothing to install. Forever-free plan, no credit card, and a free app for Mac and Windows.
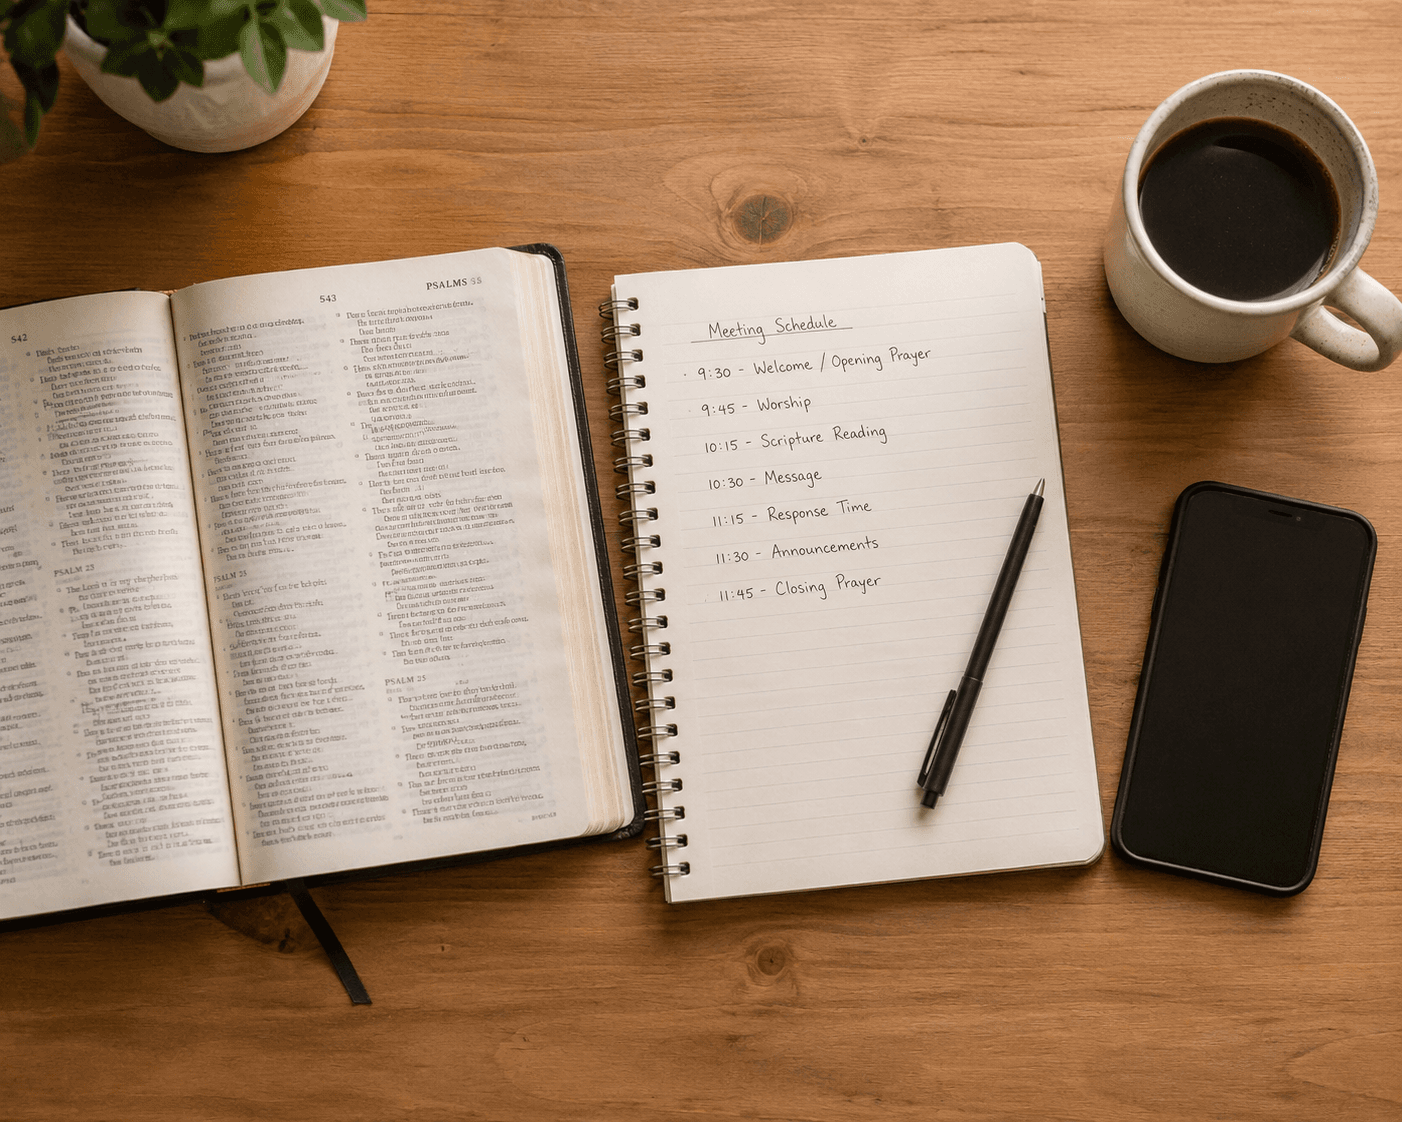
How to Create a Church Service Plan (Practical Guide 2026)
Step-by-step guide to organizing your local church service plan: what to include, how to order it, and how to manage it digitally from one screen.
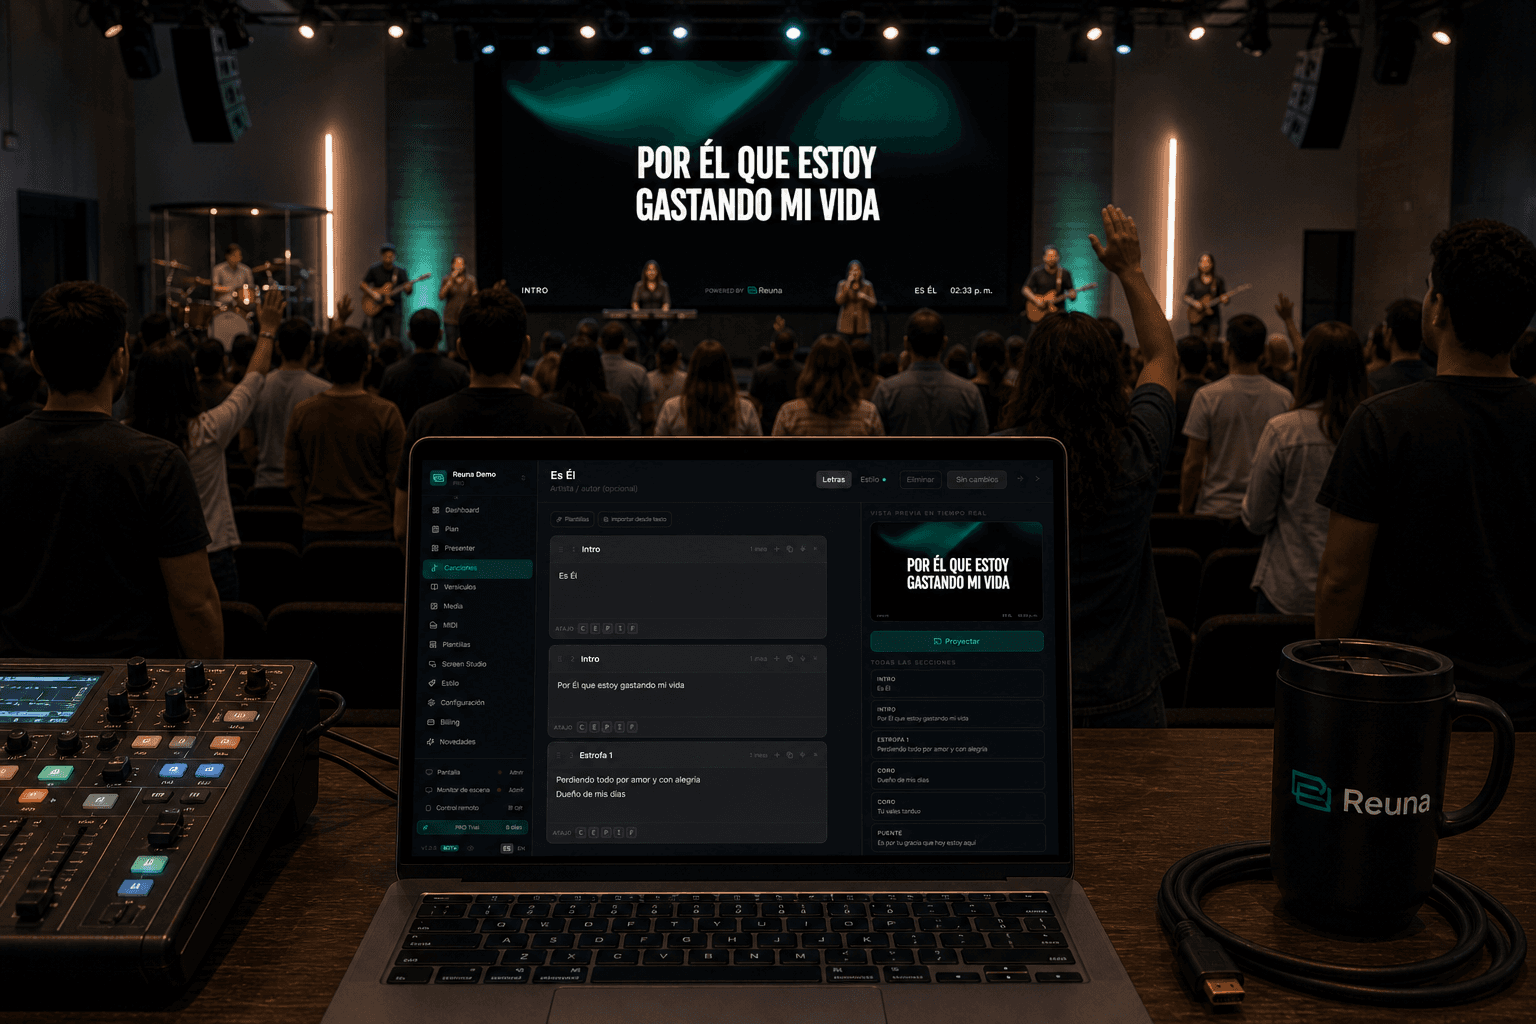
How to project song lyrics at church: complete 2026 guide
Step-by-step guide to projecting song lyrics at church: hardware, software, typography, offline mode and common mistakes that ruin the service.
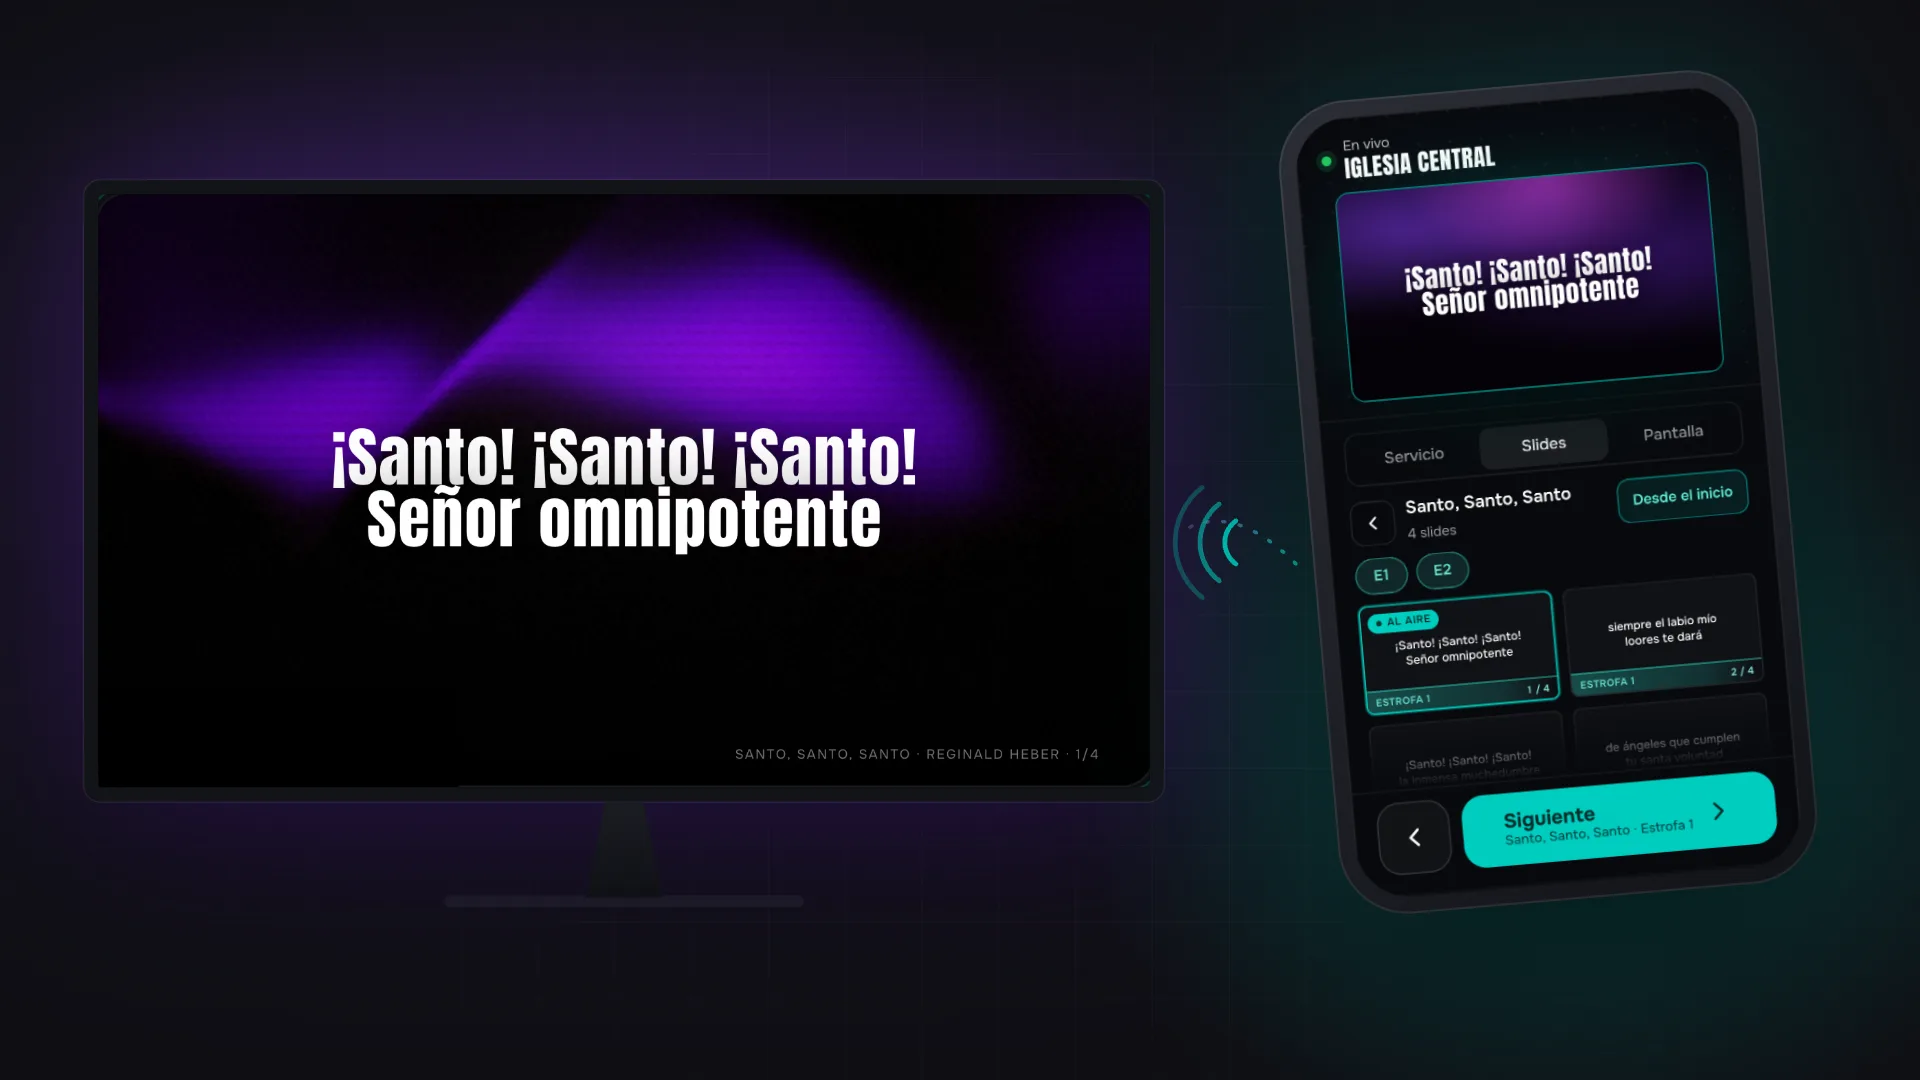
Phone Remote Control: Run Church Projection Without Being in the Booth
With Reuna's remote control, scan a QR code and your phone shows what's on air, steps through the service and projects, with nothing to install.